


My desk at home sits in front of a boring grey wall. I tried making a grid of photos and postcards using washi tape and it looked awesome for the 4 hours that everything stayed in place. Unfortunately, washi tape is not ideal for hanging things so over half of it fell down. Rather than resorting to using nails or pushpins, I thought I'd just hang one big piece of art to make a statement.
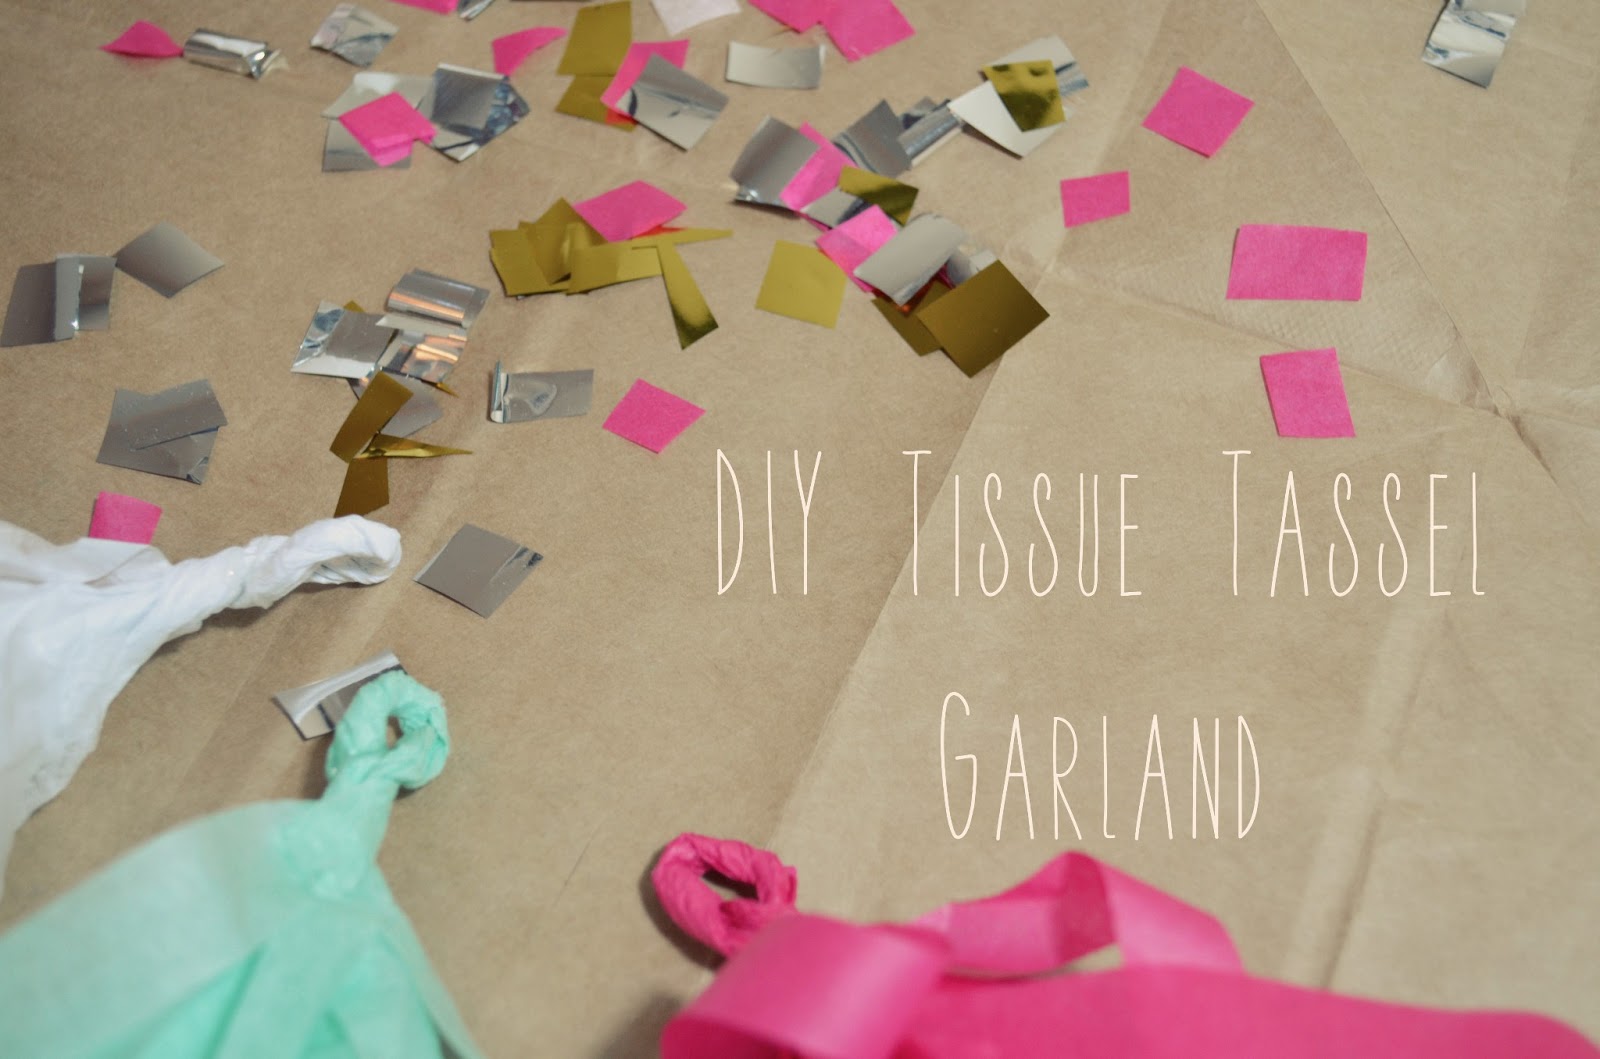
After tooling around on various design sites for inspiration, I found Confetti System. They make really cool decorative garlands for weddings and parties using tissue and mylar paper. Rather than shell out $130 for one of theirs, however, I decided to make one myself. My favorite thing about this project is that you can make the garland as long or short as you like, depending on what length of rope you have and how many tassels you feel like making.
[Let me clarify by saying I in no way take credit for this DIY, there are probably dozens of other tutorials on this as these tassel garlands are not a new thing. I merely wanted to show you how I did it.]

Supplies:
(1) Sheets of tissue paper and mylar paper (Michael's calls it "Foil Tissue") in various colors
(2) A spool of cord or string (I ended up using about 4 yards)
(3) Scissors
(4) Rotary cutter (optional but it makes cutting the tissue go by quickly)
(5) Hot glue gun
Instructions:
(1) Grab a single sheet of tissue paper and fold it in half length-wise.
(2) Fold it in half again, width-wise


(4) Unfold your cut tissue paper once.
(5) Cut down the center along the fold line. Each cut piece makes one tassel.

(6) Take one piece and unfold it again. Rotate it so the fringe is on either side of you.
(7) Tightly and carefully roll the paper, making sure the fringe doesn't get too tangled in the process.

(8) Twist the uncut portion of the rolled tissue.
(9) Once tightly wound, create a loop.
(10) Hot glue the loop, making sure to leave enough space for your cord or string to pass through. You can use regular craft glue for this, but it takes longer to dry and is ineffective on gluing the mylar paper, which is much more slippery.


(12) String on cord and hang in your desired location.

(13) Admire your handiwork, you crafty genius.

A few notes: I used about 4 yards of cord and made 30 tassels out of seven colors. The color combination possibilites are endless! My tassels were all 10 inches long but that's because the tissue paper I used was the standard 20" x 20". For longer tassels (like Creative System uses), you'd have to use bigger sheets of tissue to start with, but that's not as easy to find in as many colors.
Also, if your tassels are uneven, feel free to trim them, but don't throw away the extra paper because you can...

Finally, here is a little peek "behind the blog", if you will. For ages I was doing all my projects in my bedroom, but between writing, sleeping, work stuff, and trying to create, I was spending all my time in there. Plus my desktop computer is in here and the Internet is too distracting. So I moved all my crafts and most of my books into the guest room. There is a nice big table in there and better lighting for photographing things, plus there are no unnecessary electronics. It's kind of turned into my auxiliary office when we don't have company. Now that's where I do all my crafting and letter-writing and creative thinking. It's helping me be more organized, mentally and physically.

Anyway, that's definitely enough for now. It was a relaxing way to spend a Saturday afternoon. Do you have any fun projects you've been working on lately?


Ooo, I LOVE this! Will have to show the kids!! Fun and cheerful!
ReplyDeletethank you! :) yes, I think your girls would have fun with it. It goes by much faster with extra hands to make the tassels.
Delete